

While Digimon Story: Time Stranger emphasizes its captivating narrative centered on the connection between Digimon and humans, a vital aspect of gameplay involves nurturing a Digifarm. This dedicated area lets your digital allies engage in various recreational activities, from rigorous training with a punching bag to carefree solo dancing. As Digimon relish their time in these diverse pursuits, they steadily gain strength, paving the way for their Digivolution.
This guide provides a comprehensive overview of the Digifarm’s functionality and valuable strategies for enhancing your farm in Digimon Story: Time Stranger.
Understanding the Digifarm in Digimon Story: Time Stranger
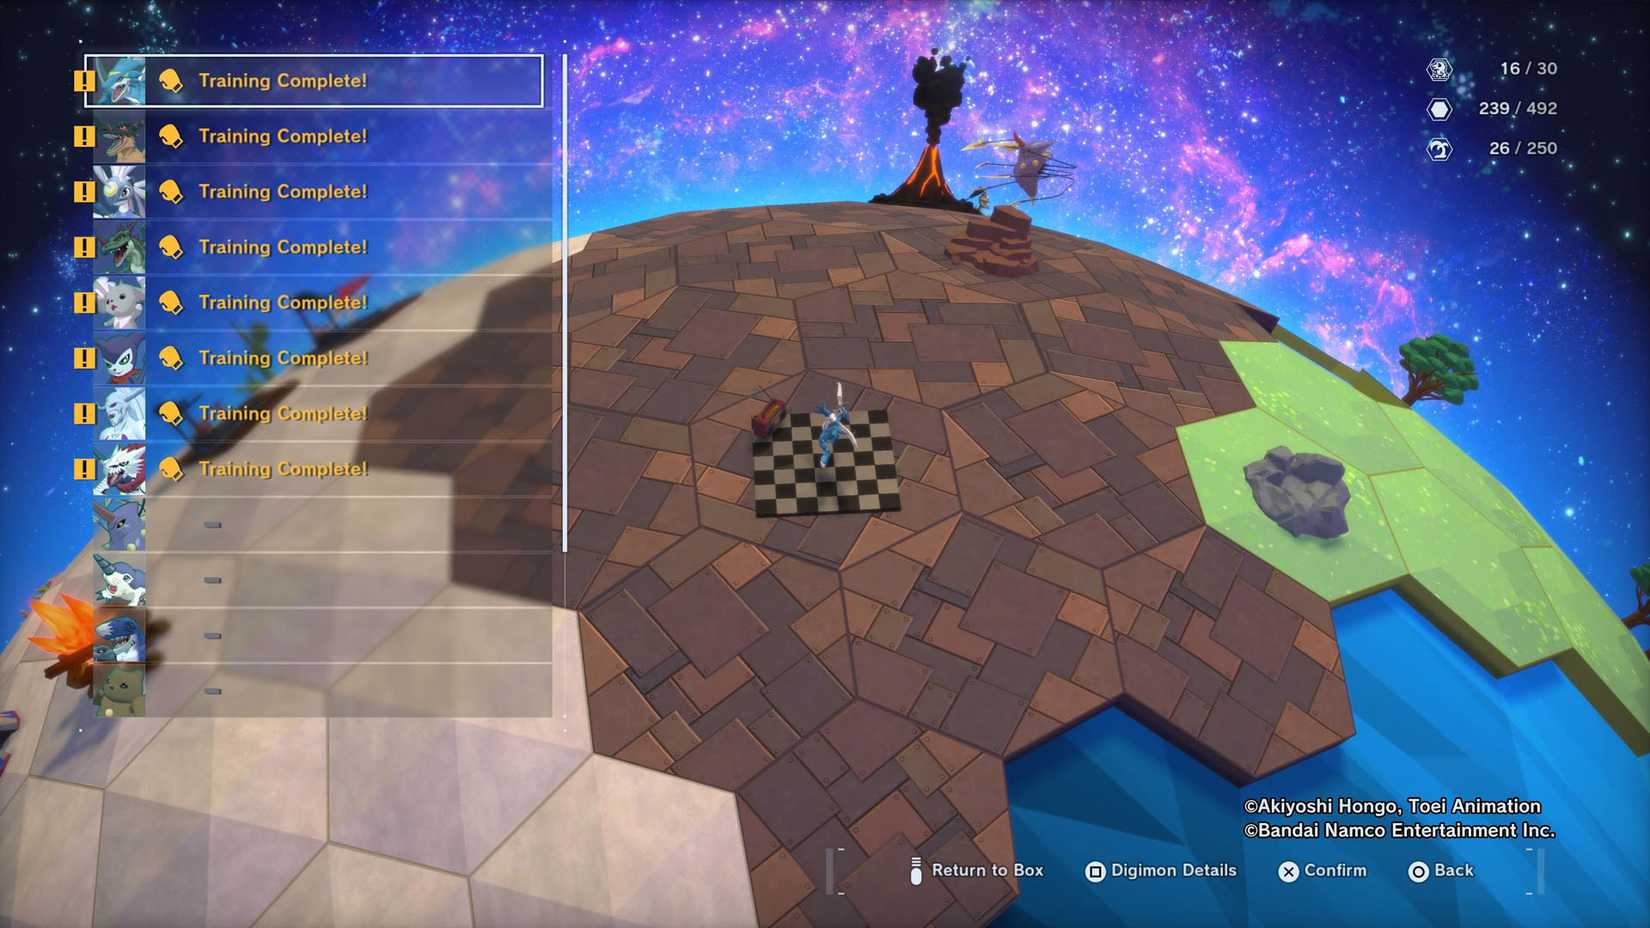
The Digifarm remains a familiar feature from previous Digimon adventures, largely unchanged in Time Stranger. It functions as a special zone where you can house up to 30 Digimon. Here, you can train them to improve their stats or alter their personalities, provide nourishment to boost their bond levels, or simply allow them to roam freely. Notably, all Digimon residing on the farm accrue the same experience points (EXP) as those stored in your digital storage box.
While consistent interaction with the farm is important, accessibility is restricted. You can only visit the Digifarm by stepping into the In-Between Theater and engaging in conversation with Mirei Mikagura. While almost every map contains at least one entrance to the Theater, reaching it requires interrupting your current tasks. Whenever you enter the farm, a display will list the resources your Digimon have gathered.
Once within the Digifarm interface, you can opt to “Interact with Digimon in Farm” to schedule training exercises, provide food, or withdraw them from the farm. To place a Digimon on the farm, choose the “Move Digimon” option. Customization options exist for the farm, allowing you to add diverse islands and decorative objects; however, these cosmetic alterations have no impact on the effectiveness of training sessions.
When training a Digimon, you can choose from various Training Sets, each designed to enhance specific stats or influence personality traits. The game features three tiers of Training Sets (A, B, and C), with varying training durations – 30, 60, and 90 minutes for tiers A, B, and C, respectively.
Remember that training duration reflects real-world time, progressing only while actively playing the game. Testing revealed that the timer pauses when the PlayStation 5 is in rest mode.
Maximizing Your Digifarm in Digimon Story: Time Stranger
The Digifarm is an indispensable tool to assist in Digimon evolution, whether through boosting attributes or tweaking personalities. Though options to enhance the farm’s productivity are limited, certain upgrades are worth prioritizing.

You can directly influence Digimon training by unlocking “Crash Course” Agent Skills. These reduce training session durations by 50% based on the Digimon’s inherent personality. Ideally, acquire all four “Crash Course” skills—”Crash Course in Valor,” “Crash Course in Philanthropy,” “Crash Course in Amicability,” and “Crash Course in Wisdom”—as each caters to a distinct personality type.
With expedited training sessions, you can further enhance the stat and personality gains. To achieve this, craft the B and C variants of the training sets. The former significantly elevates both attributes and personality, whereas the latter emphasizes a substantial boost to stats alone.
Utilizing these enhanced training sets lets you precisely address a Digimon’s unique developmental needs. In scenarios where personality preservation is desired, Training Set C is the optimal choice.
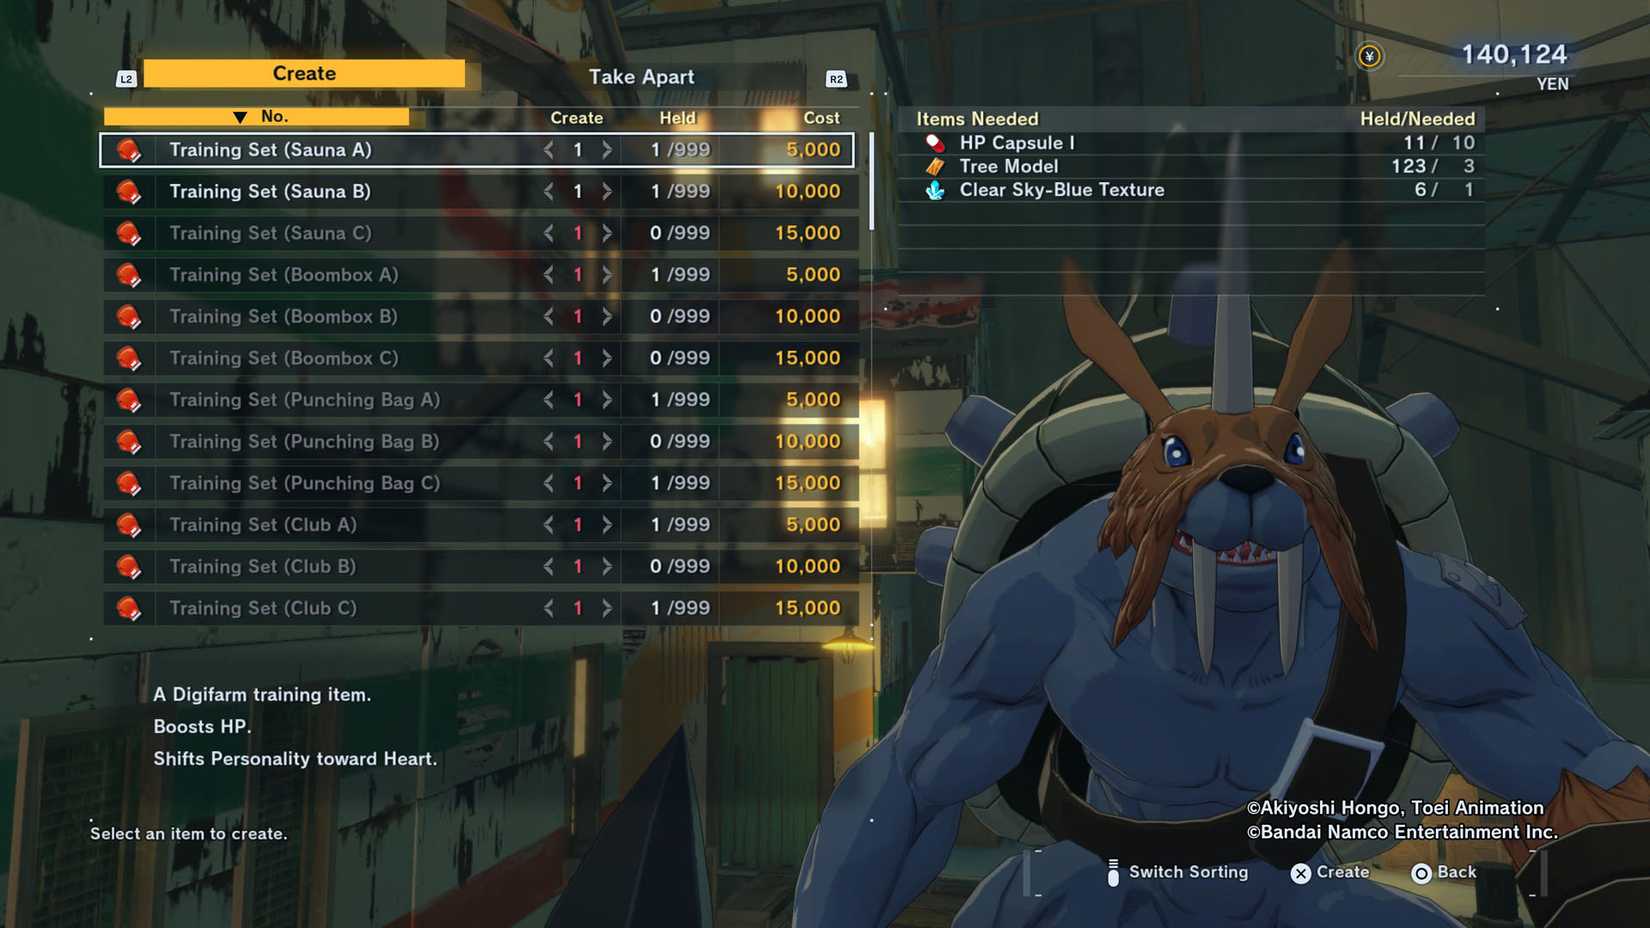
Visit Zudomon in Central Town (or Rebellion Village in later stages) to craft Training Sets. In our experience, the B and C sets became available after completing “The Blacksmith’s Request” and “The Craftsman’s Partner” side missions. Keep in mind that these sets do not appear as explicit quest rewards. (Therefore, other completion requirements may also apply.)
You can find the majority of crafting components in the In-Between Theater’s shop. Certain components can be produced through specific interactions with Zudomon. Upon completing the main quest “On My Life,” you can produce needed materials by talking to Wendigomon in Central Town.
Below are the available training sets, organized by their target stat and influence on Digimon personalities. The table also details the necessary materials and associated costs.
Training sets – HP
|
Name |
Focus |
Personality Shift |
Required Components |
Price |
|---|---|---|---|---|
|
Sauna A |
HP |
Heart |
10 HP Capsule I, 3 Tree Models, 1 Clear Sky-Blue Texture |
5,000 Yen |
|
Sauna B |
HP (Significantly) |
Heart (Significantly) |
1 Training Set (Sauna A), 1 Bonefire, 3 Clear Sky-Blue Textures |
10,000 Yen |
|
Sauna C |
HP (Extremely) |
None |
5 HP Capsule III, 1 HP Attachment II |
15,000 Yen |
Training sets – SP
|
Name |
Focus |
Personality Shift |
Required Components |
Price |
|---|---|---|---|---|
|
Boombox A |
SP |
Understanding |
10 SP Capsule I, 3 Fluid Animation Data, 1 Iron Texture |
5,000 Yen |
|
Boombox B |
SP (Significantly) |
Understanding (Significantly) |
1 Training Set (Boombox A), 1 Generator, 3 Iron Textures |
10,000 Yen |
|
Boombox C |
SP (Extremely) |
None |
5 SP Capsule III, 1 SP Attachment II |
15,000 Yen |
Training sets – ATK
|
Name |
Focus |
Personality Shift |
Required Components |
Price |
|---|---|---|---|---|
|
Punching Bag A |
ATK |
Heart and Affection |
5 ATK boosts, 3 Rock Metal Fragments, 1 Arched Model |
5,000 Yen |
|
Punching Bag B |
ATK (Significantly) |
Heart and Affection (Significantly) |
1 Training Set (Punching Bag A), 1 Snowman, 3 Arched Models |
10,000 Yen |
|
Punching Bag C |
ATK (Extremely) |
None |
5 ATK boosts, 1 ATK Attachment II |
15,000 Yen |
Training sets – DEF
|
Name |
Focus |
Personality Shift |
Required Components |
Price |
|---|---|---|---|---|
|
Club A |
DEF |
Heart and Companionship |
5 DEF boosts, 3 Tree Model, 1 Blackish Texture |
5,000 Yen |
|
Club B |
DEF (Significantly) |
Heart and Companionship (Significantly) |
1 Training Set (Club A), 1 Robot, 3 Leaf Models |
10,000 Yen |
|
Club C |
DEF (Extremely) |
None |
5 DEF boosts, 1 DEF Attachment II |
15,000 Yen |
Training sets – INT
|
Name |
Focus |
Personality Shift |
Required Components |
Price |
|---|---|---|---|---|
|
Classroom A |
INT |
Understanding and Companionship |
5 INT boosts, 3 Gray Textures, 1 Mineral Texture |
5,000 Yen |
|
Classroom B |
INT (Significantly) |
Understanding and Companionship (Significantly) |
1 Training Set (Classroom A), 1 Bench, 3 Mineral Textures |
10,000 Yen |
|
Classroom C |
INT (Extremely) |
None |
5 INT boosts, 1 INT Attachment II |
15,000 Yen |
Training sets – SPI
|
Name |
Focus |
Personality Shift |
Required Components |
Price |
|---|---|---|---|---|
|
Tearoom A |
SPI |
Understanding and Affection |
5 SPI boosts, 3 Fluid Animation Data, 1 Leaf Model |
5,000 Yen |
|
Tearoom B |
SPI (Significantly) |
Understanding and Affection (Significantly) |
1 Training Set (Tearoom A), 1 Reservoir, 3 Blackish Textures |
10,000 Yen |
|
Tearoom C |
SPI (Extremely) |
None |
5 SPI boost, 1 SPI Attachment II |
15,000 Yen |
Training sets – SPD
|
Name |
Focus |
Personality Shift |
Required Components |
|---|