

The initial mandatory boss encounter in Hollow Knight: Silksong is the Moss Mother, generally considered a gentle introduction to the game’s boss mechanics. However, a significantly tougher rematch awaits players later on, featuring a twist on the familiar foe.
If you’ve already obtained the Needolin after triumphing over the Widow in Bellhart and are inclined to revisit earlier areas, you might stumble upon a hidden “double” Moss Mother boss fight located within a secret section of Moss Grotto.
It’s called “double” for a reason: you’ll be facing two Moss Mothers simultaneously, exhibiting enhanced speed and aggression. Prepare yourself for a considerable challenge!
Fear not, intrepid adventurer! This guide provides a solid strategy for conquering this daunting duo. Sharpen your Needle and let’s dive in.
Locating the Double Moss Mother & Essential Preparation
First, ensure you’ve progressed far enough in the main narrative to acquire the Needolin, an item obtained by defeating the Widow, a formidable boss found deep within Bellhart.
The Needolin is a passive ability. It enables Hornet to play ancient melodies using her Silk and Needle, similar to a harp. This opens “Weaver Doors”—special gates found throughout Pharloom, distinguished by their dark appearance and mysterious inscriptions.
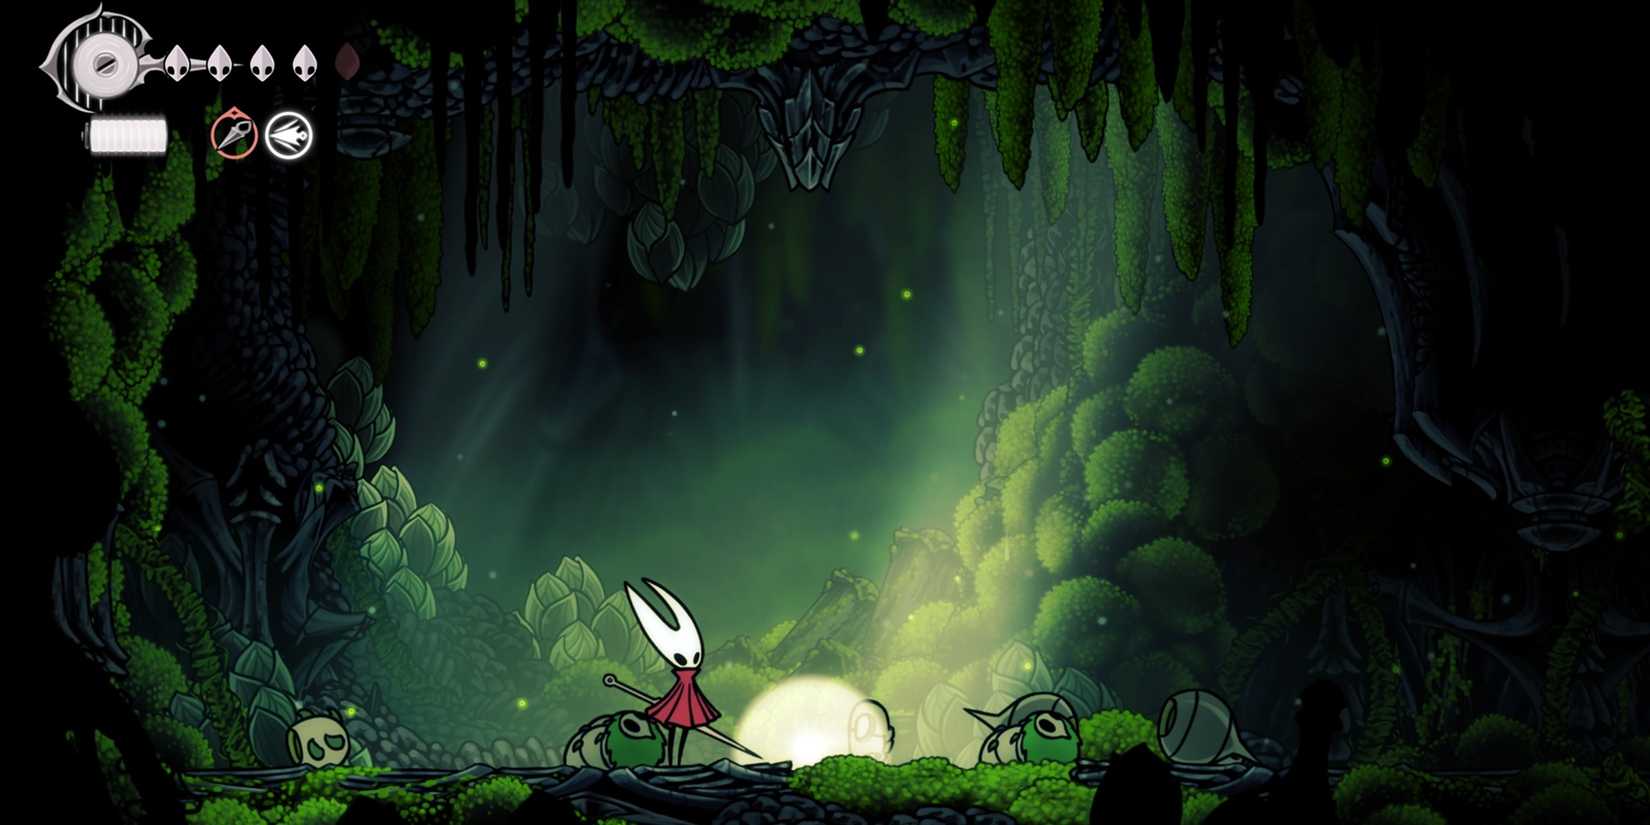
Next, prepare for some backtracking. Our destination is the initial area of Hollow Knight: Silksong, the Moss Grotto. Utilize fast travel to The Marrow, then descend into the pit located to the left for quicker access.
Before venturing to the Moss Grotto, it is highly recommended that you unlock and master the Swift Step ability (the dash), found in the Deep Docks region. This skill will be crucial to your strategy against these two simultaneous bosses.
Upon entering Moss Grotto, consult your map and locate a gate marked on the far right of the zone. This is where you need to go. Upon arrival, you’ll find a Weaver Door (marked as 1 on the map above). Use the Needolin to “speak friend” and gain entry. (Hope you caught that reference!)
You’ve now entered the Weavenest Atla. This sub-area contains valuable items worth collecting (exploration highly encouraged!) and, of course, a hidden boss encounter.
Proceed right, striking the two faintly glowing lamps on the strange machine. Retrace your steps towards the exit, and you’ll find a large panel to interact with, unlocking the map for this area. Continue to the left to discover a peculiar device that glows when stepped upon. Activate it to drop into a new location.
Head left from here to discover a Bench. Take a moment to rest and set this as your save point. Then, jump into the pool of water and swim to the left to uncover a secret passage leading to a larger area. Some common enemies roam here (beware the larger ones), but the true challenge awaits at the end of the corridor to the left: the double Moss Mother boss battle (marked as 2 on the map above).
Strategies for Defeating the Double Moss Mother
Phase One
As the battle begins, the first Moss Mother appears, displaying significantly more aggressive behavior than her earlier counterpart. Perhaps she’s seeking revenge?
She will relentlessly attempt to sting Hornet with pendulum swings, simultaneously striking the ceiling to dislodge rocks and summon minions to harass you.
Before delving into specific tactics, understand that this initial phase might be brief (lasting mere seconds!). Its duration isn’t tied to the damage you inflict. Rather, the Moss Mother dictates when the second and final phase begins. How bossy!
Bearing this in mind, your objective is to maximize damage output during this simpler first phase. Adopt an aggressive approach from the start, denying her any respite.
Your strategy involves maintaining a central position within the arena to prevent being cornered. Jump to evade her pendulum swings, and attack her while she’s underneath you.
When she strikes the ceiling to drop heavy stones, quickly dash to safety, noting the dust particles indicating impact zones. Eliminate the summoned minions as soon as they appear. They are slow, but they can deplete your health if you become preoccupied with dodging the Moss Mother’s attacks.
Finally, the scream accompanying her ceiling strike signifies the arrival of the second Moss Mother, heralding a more engaging stage.
Phase Two
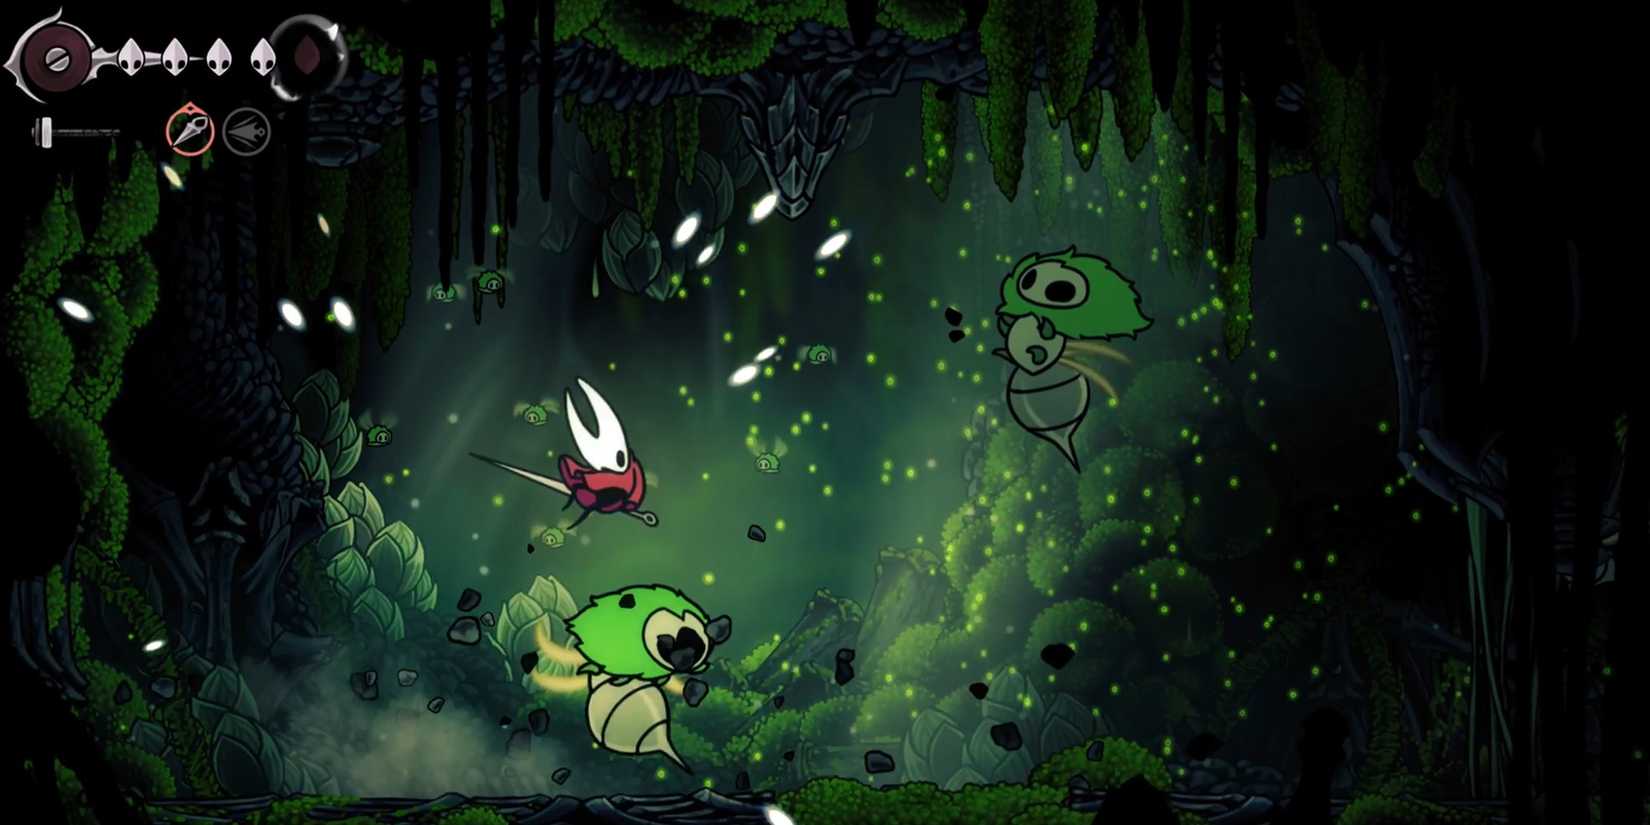
Now, you must evade and inflict damage upon two Moss Mothers concurrently, a chaotic scenario if approached carelessly.
Again, maintain a central position to avoid being cornered, and eliminate any minions that appear to prevent unwelcome surprises. Gathering Silk from these enemies also allows for occasional healing.
The safest tactic is to relinquish aggression and allow the Moss Mothers to dictate the fight’s pace. Exercise patience, letting them approach you, and then jump (or dash) to strike one as she passes.
Only attack when certain that the other Moss Mother won’t inadvertently strike you. Focus on survival above all else, rather than rushing for a quick victory.
Repeat this strategy until one Moss Mother falls. Upon defeat, she will explode and emit a scream that may momentarily distract you. (I actually died during my first encounter because of this.) Move as far as possible from the remaining Moss Mother until the screen returns to normal.
With only one remaining opponent, revert to the strategies employed during the first phase to secure victory.
Overall, this battle presents a considerable challenge, though fortune may favor you. In one of my attempts, the first phase lasted longer than anticipated (as shown in the video), providing ample opportunity to inflict significant damage on the first Moss Mother before her partner arrived.
Subsequently, my focus shifted to quickly eliminating the already weakened first Moss Mother, leaving me to contend with only one boss, and allowing a return to the first-phase strategies.
Rewards for Defeating the Double Moss Mother
After defeating the duo, remain vigilant! Two flying insects will enter the arena. It would be disheartening to conquer the “double trouble” only to succumb to common enemies.
Dispatch them with jump attacks and claim your reward, a glowing item on the floor. This is the Weavelight, a blue tool that, according to its description, boosts Silk regeneration speed.
Effectively, this provides additional passive Silk regeneration, a useful asset in combat. Congratulations on your victory!